Pages

Thursday, 19 June 2014

Amethyst and Carnelian - my current spinning project

A few weeks ago I mentioned some dyeing that I had been doing - now that fibre is becoming yarn.

I had previously used some logwood and a smaller amount of madder for solar dyeing - about 100g of logwood and about 25g of madder, which was mixed with some of the logwood.
In fact I had used these dyestuffs for three successive batches of solar dyeing. I dyed a total of 700g of wool in this way, ranging from deepest purple to a light lavender.

But this post is about what I did next with the same 125g of dyestuffs.
I put it all together in a lose mesh bag, boiled it up in my dyepot and started to dye successive 50 - 100g batches of fibre.
dyelot numbers indicate the order in which these successive batches of wool, mohair and silk were dyed in the same dyebath of pre-used logwood and madder

I dyed wool tops, mohair tops and silk throwsters' waste in separate batches one after the other over several days - 9 batches in total. Each batch came out a different shade to the one before. The first batches were dominated by the red from the madder, so I called these carnelian shades. The later batches were more purple, from the logwood. I called these Amethyst shades.
So I had just over 600g of three different fibres in nine different shades.
59% wool, 26% mohair and 15% silk.
My plan was to blend all the fibre to get a nearly homogenous mix, before spinning.
Using my Ashford drum carder I can make batts of up to 60g, so I decided to make 10 batts.

I weighed each dyelot and divided it into 10 even portions.
Then I took one portion from each of the 9 dyelots to make each batt.

Once all of the fibre had been carded once, I split each batt in half and recarded it with half of another batt.
After I had worked my way through all 10 batts, I repeated the process, so the fibre was blended and carded three times.

Yes, it was a lot of work!! Actually, cutting and teasing the tangled silk throwsters' waste to prepare it for carding was probably the slowest part.

Now I'm on to the spinning.

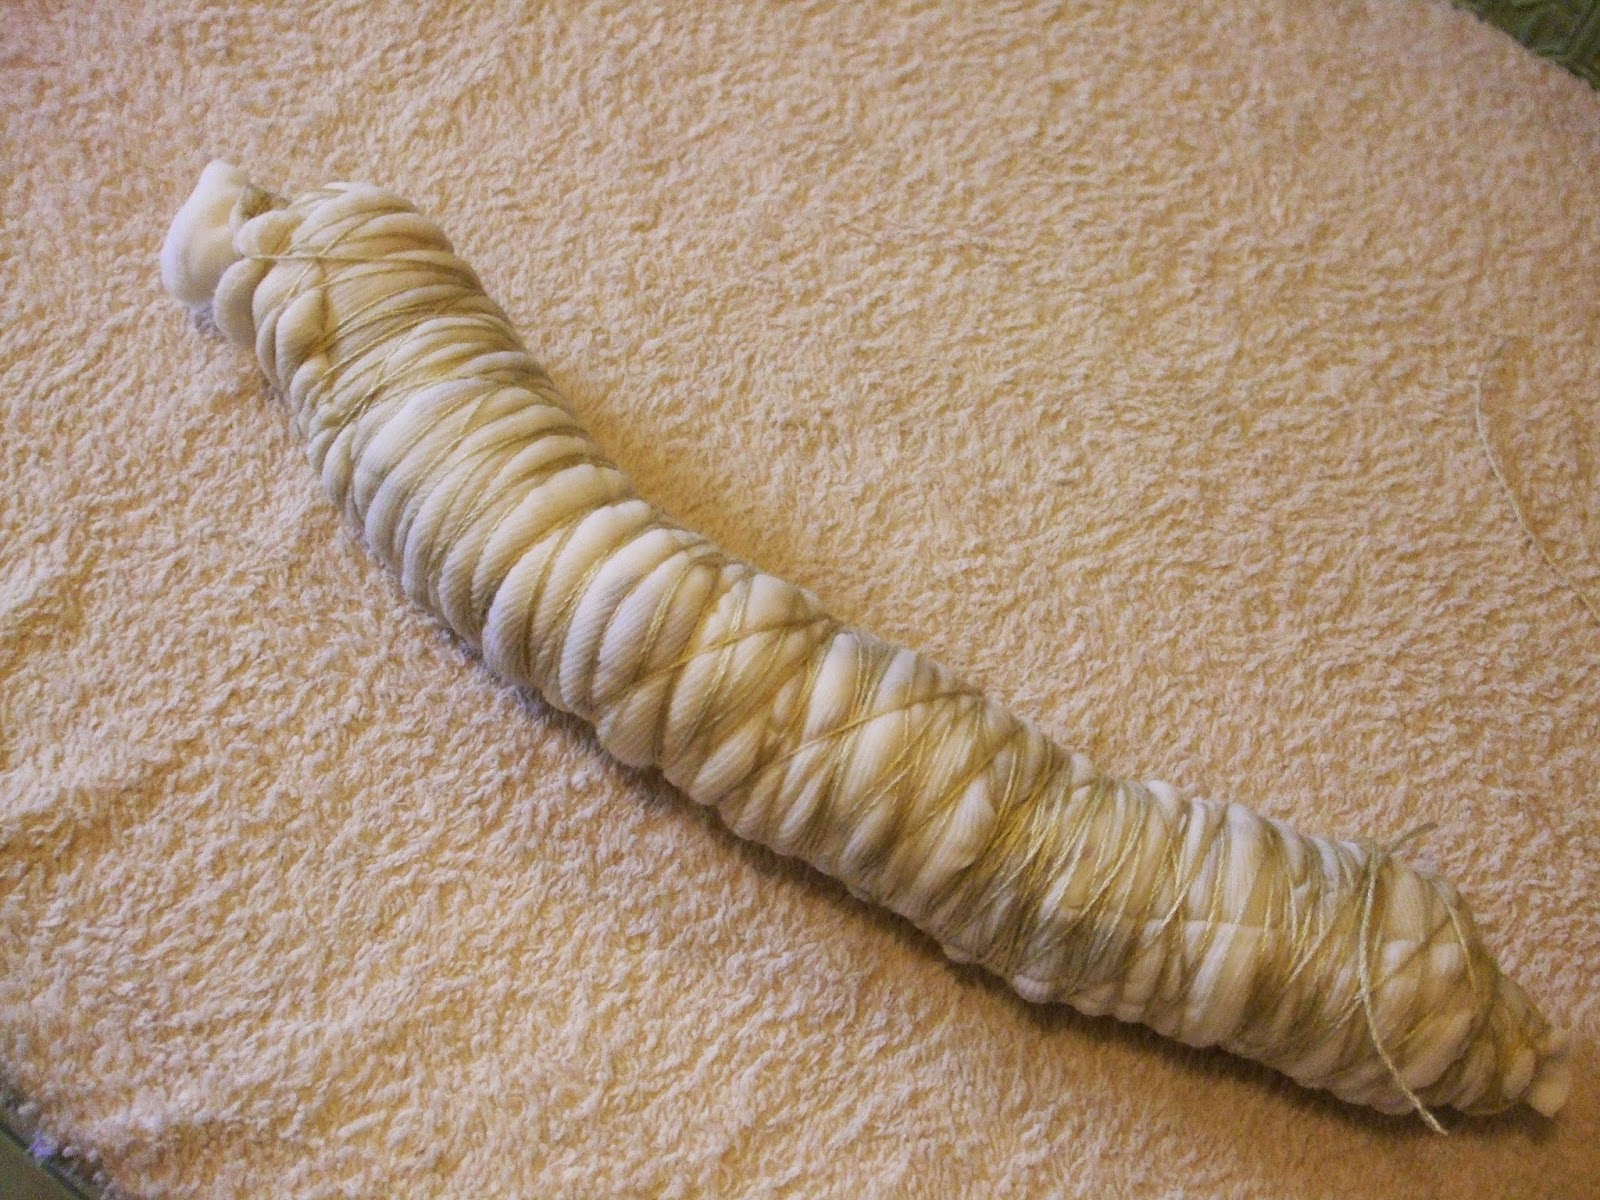
I'm making a woollen spun 2-ply double-knitting weight yarn, with occasional slubs or nepps where there are knots of silk.
The colour is fairly even overall but with enough variation in shade, texture and lustre close up to make it interesting.

I've knitted a swatch in garter stitch, stocking stitch and horseshoe lace.

Once I know the final yardage I can decide on garment style. I have two or three different cardigans in mind....

Oh - and as if dyeing a total of 1300g of fibre with 125g of dyestuff wasn't enough - I then used the same bag of dyestuff when I was 'cooking' my eco-print experiments, to give a light mauve tint on the linen and cotton.

Tuesday, 17 June 2014

making marks - ecoprinting

Geranium cinerea printed on cotton
The blog has been a bit quiet recently - I've been busy doing rather than blogging! But I thought I'd show you my first venture into the world of eco-printing.
I've been meaning to have a go for quite a while, and now I have tried this fascinating technique I can't wait to do more...
Purple Acer twigs and tiny leaves printed on cotton

I gathered together a selection of cotton and linen fabrics and garments, all white or pale cream. In fact one was a linen/viscose mix, it seemed to take the colour just as well as the pure linen.
Geranium endressii leaves and astilbe leaves printed on viscose/linen fabric

The first step was to mordant. I don't usually dye much plant fibre so I checked a few sources. It seemed that a tannin/alum/tannin process was recommended by most, with at least one source suggesting that the fabric should be aged at least a week between each mordanting process.  (If you do a quick google search you will find most of the sources I consulted)
Well, I was too impatient for that! I'll describe here the process which I used, and you can judge the results for yourself in the photos. The finished items have all had a warm wash with normal laundry detergent, but have not yet been tested for colour-fastness over time or many washes.

Before starting I weighed the dry fabrics. I also unpicked one side-seam of the linen skirt so I could open it out flat.

I washed the fabrics first on a 60 degree cycle, with washing soda instead of detergent, but did not go in for the long, complicated and energy-costly process recommended in one of my sources.

I decided to go for cold-mordanting first with tannin and then with alum.
For the tannin I used a solution I had made by boiling crushed oak galls in water for several hours. I actually made the solution about two years ago and had stored it in my shed, in plastic containers. I diluted the strong black liquid with cols water in a large plastic bucket. So I have no idea how much tannin went into my mordanting bath - it was about the colour of strong tea. I put the wet fabrics, straight from the washing machine, into the tannin bath and left it to soak outside for about 18 hours, stirring occasionally.
For the alum I used 10% of the dry weight of the fabrics, dissolved in about a litre of boiling water, then I added cold water to fill a large (plastic) bucket. I soaked the fabrics (straight from the tannin solution - no rinsing) in this solution for about 14 hours.

Now for the fun part!!
Placing the leaves and flowers - the names of the leaves and flowers used are given beside the photos of the results, and summarised at the end.
Geranium cinereum leaves and speedwell shoots on cotton vest
note: all the leaves are face-down on the fabric, it would have been better to place half of them face-up

I covered my work surface with an old towel  and spread out the wet fabric, one piece at a time, as flat as possible. I placed my chosen leaves and flowers over half of the fabric, creating a pattern.
Linen fabric folded over to enclose acer leaves
Then I carefully folded the other half of the fabric over the top to enclose the leaves, and smoothed it down gently.

Next I rolled up the fabric as tightly as I could. Some of the sources had suggested rolling it round something - I didn't do that, and it meant that my rolls were flexible enough to be coiled or curved into the dye vessels.


Once the fabric was rolled up I bound it very tightly with a fine cord, going over the roll several times. Take care with this stage - by the time I was binding the eighth roll the skin on my hands was so soft and wet that the cord cut my finger!

I decided to try both the hot dyebath method and the solar jar method.

For the solar jar method I chose three rolls which (with a bit of bending) I could fit into a 2 litre preserving jar. I filled the jar with the left-over alum solution the fabric had been soaking in, and left it in a sunny place.
Solar jar day 1

Solar jar day 18
plants include:
 purple acer leaves, Jacobs ladder flowers, Clematis montana shoots, geranium endressii leaves, vetch, black elder leaves
I'm planning to leave it for 4 weeks, so I will post pictures of the results from the solar jar at the end of June.


For the hot dyebath method I put five of the coils into a dyepan, along with a mesh bag containing some logwood that had already been used at least 15 times, so was pretty well exhausted. I wanted to add a bit of colour but not overwhelm the prints.
I filled the dyebath with cold water to cover all the rolls and gently simmered it for 3 hours. I left the rolls to cool in the dye overnight, before unrolling them to reveal the results. All the results in this post are from the hot dyebath.
When I unrolled each bundle I picked off the remaining bits of plant and gave the fabric a gentle rinse in cold water.

Then I 'finished' the prints in an iron solution for 15 - 20 minutes - the iron 'saddens' the colours, making many of the yellows go green, but it makes the print much more distinct. you can see the difference in some of the photos.
Eco-printed fabric soaking in iron solution (no more than 20 minutes)
 I used a home-made iron solution, made by soaking iron nails in 50% vinegar, 50% water for about two years, so again I don't know the actual concentration of the iron in the bath. You can see from the photos that the water looked 'rusty', and it certainly left particles of rust on the fabrics, but these washed off easily.

After the iron bath I rinsed the fabrics in cold water, then gently washed them in warm water with normal laundry detergent, and rinsed again before drying them.
Printed vest before iron soak - note that the side where the leaves were placed face down on the fabric has less distinct images than the side which was folded over on top of the underside of the leaves
The same vest after 15 minute soak in iron solution

Cotton fabric printed with Eucalyptus gunnii and astilbe leaves

The same fabric after 15 minute soak in iron solution


Plants used and results from hot dyebath followed with iron bath
All plants grown in my garden, picked on 30th May and used immediately
Fern  young leaves - clear but faint green marks
Purple acer leaves - left faint greyish and green smudges - except the tiniest new leaves which left dark bluish-purple dotted outlines , twigs left yellow faint marks
Jacob's ladder flowers - left small pale blue/grey circles about 2mm across
Vetch tips of shoot with stem, leaves and flowers - left yellow marks which did not go green with iron
Eucalyptus gunnii young shoots with leaves - distinct dark green marks after iron
Astilbe young reddish leaves - indistinct dark green/grey marks
Geranium endressii leaves - distinct marks, green
Geranium cinereum leaves - good distinct marks from underside of leaves, faint marks from top of leaves- yellowy green
speedwell shoots with leaves and flowers - yellow marks, small grey dots from flowers
Campanula poscharskyana shoots and flower buds - indistinct yellow marks